

higashi
Hi, I’m Higashi.
Here’s how to split an image into a grid of smaller images.
Original image
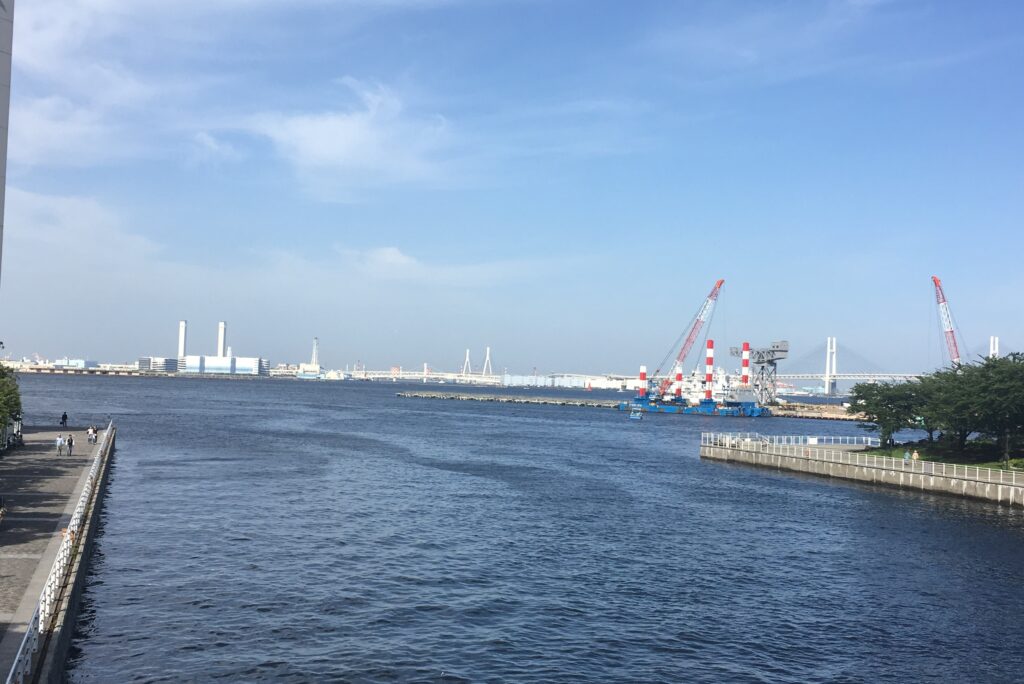
Image split into tiles
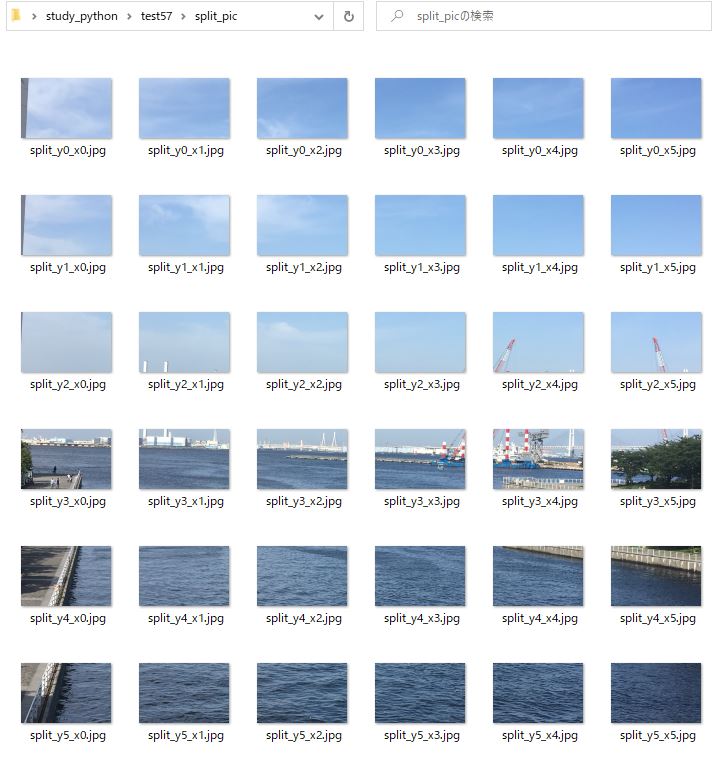
The example uses a 6 × 6 grid. You can change the number of rows and columns.
Splitting larger images into tiles can help when preparing training data.
Let’s get started!
Sample folder layout
Here’s how the files and output folder are arranged.
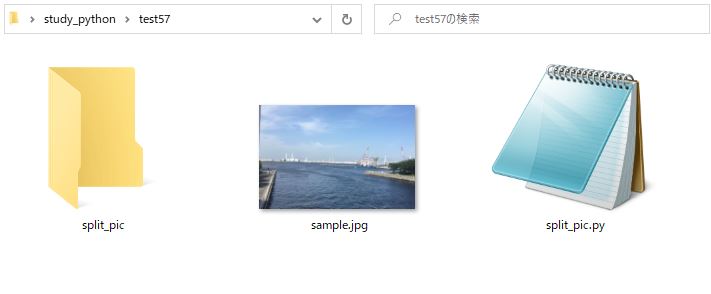
sample.jpg: source image
split_pic.py: sample program
split_pic: output folder for the tiles
Sample code for splitting the image
Here’s the sample code.
These settings split the image into a 6 × 6 grid.
Use split_x and split_y to change the grid size.
#library import
import cv2
import numpy as np
#load image
img=cv2.imread('sample.jpg',cv2.IMREAD_COLOR)
h,w=img.shape[:2]
#split number of horizontal and vertical
split_x=6
split_y=6
#image split process
cx=0
cy=0
for j in range(split_x):
    for i in range(split_y):
        split_pic=img[cy:cy+int(h/split_y),cx:cx+int(w/split_x),:]
        cv2.imwrite('split_pic/split_y'+str(i)+'_x'+str(j)+'.jpg',split_pic)
        cy=cy+int(h/split_y)
    cy=0
    cx=cx+int(w/split_x)
Compare the output at two grid sizes
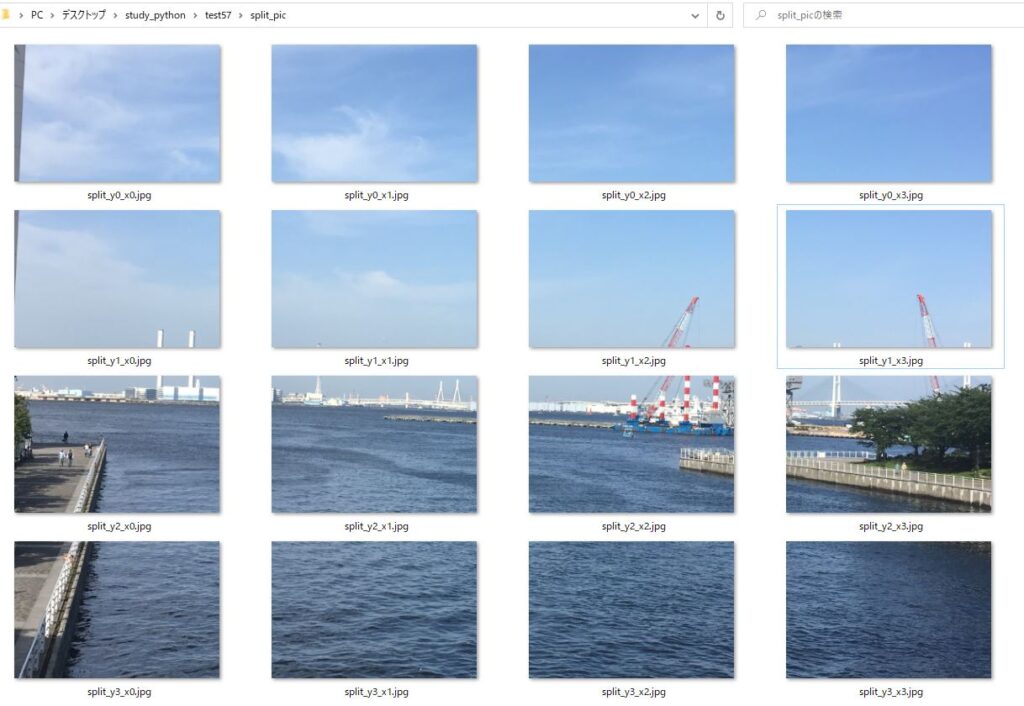
Here’s what the sample produces with two different settings.
Result with split_x=6 and split_y=6
Result with split_x=4 and split_y=4
Thanks for reading!


コメント