
Hi, I’m Higashi.
Here’s how to zoom in or out around a point you choose in an image.
The clip below shows the effect.
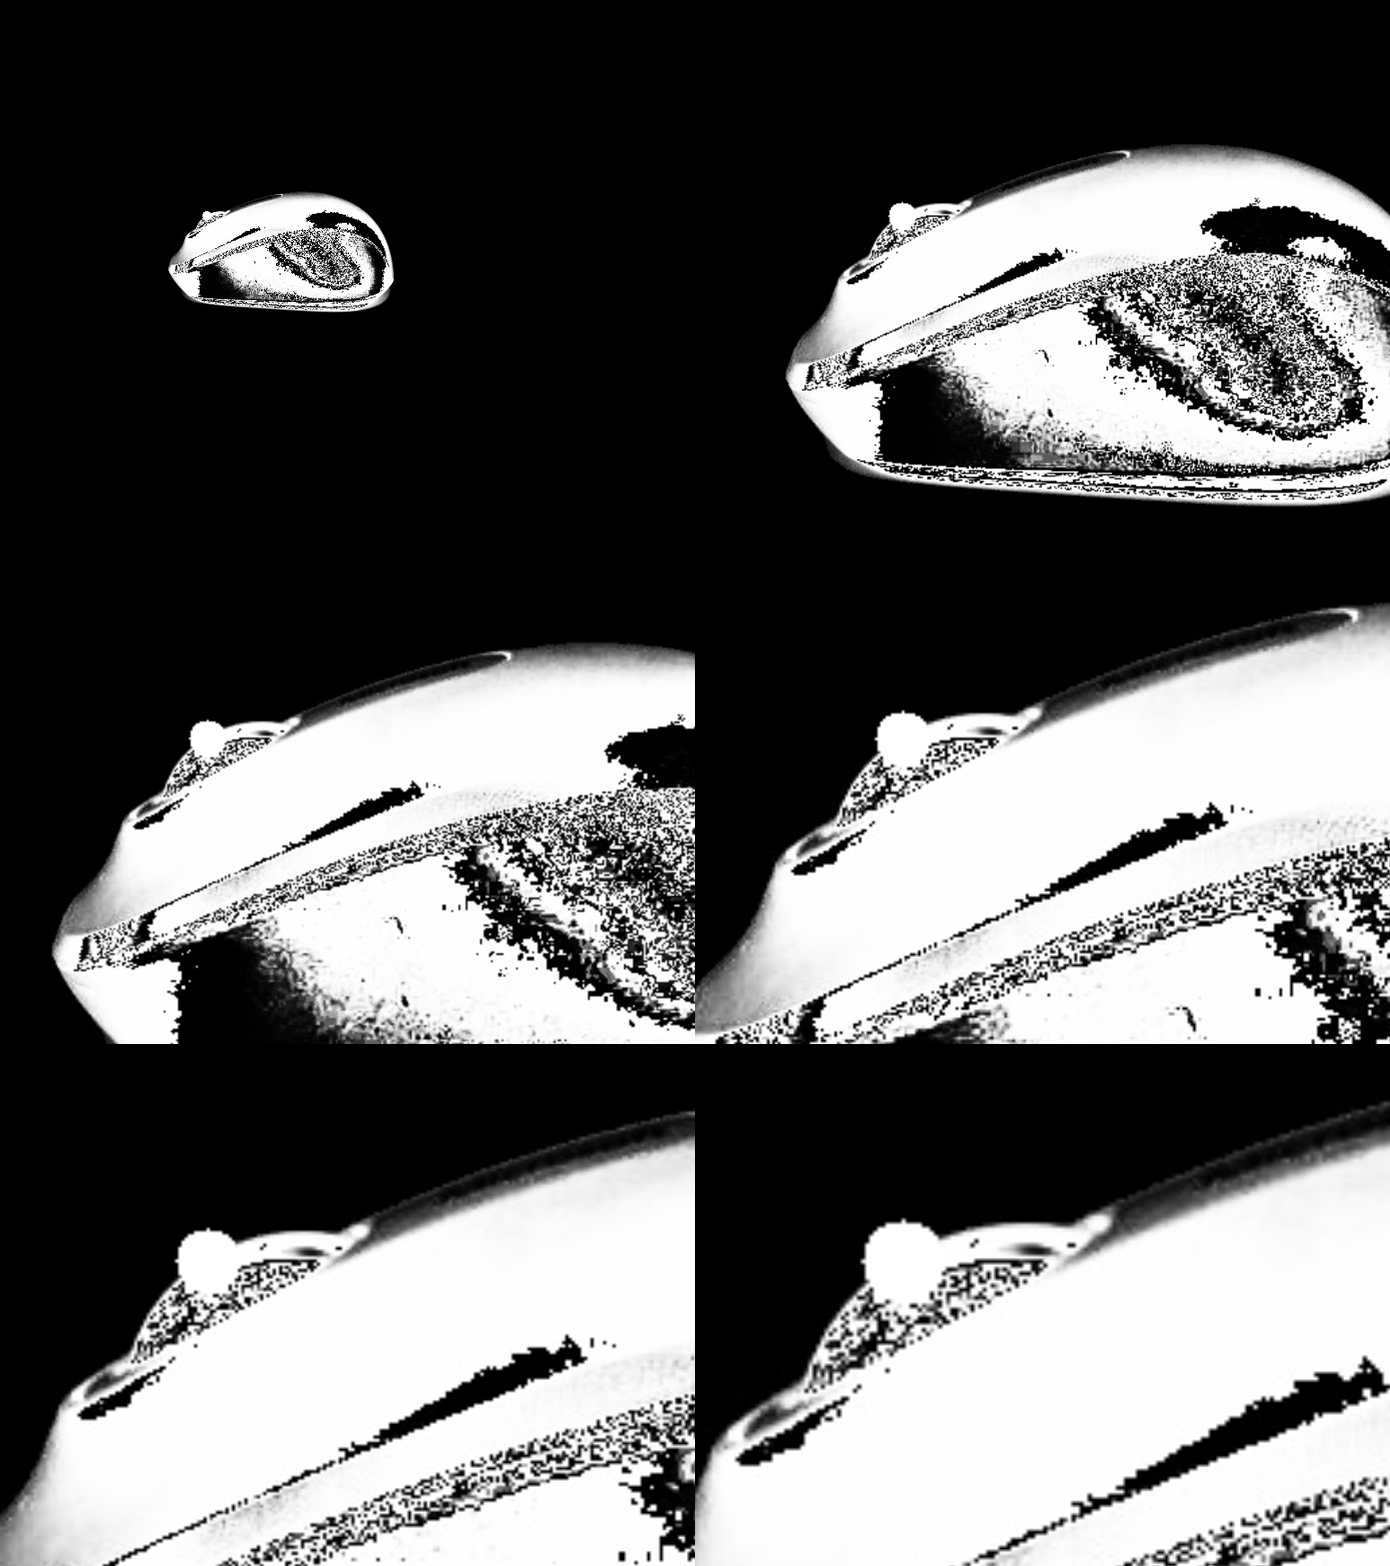
Notice that the white point stays in the same place as the image scales around it.
The clip demonstrates the effect. The program below produces a single output image.
Inputs for scaling the image
Here’s what you need to specify. Variable names are in parentheses.
1. Source image (sample.jpg)
2. Horizontal scale factor (cx)
3. Vertical scale factor (cy)
4. Center point’s x coordinate, measured from the left (x1)
5. Center point’s y coordinate, measured from the top (y1)
The program uses these values to scale the image around that point.
Adjust them to suit your image.
Sample code for scaling around a selected point
Here’s the sample code.
#import library
import numpy as np
import cv2

#load image and input information
img=cv2.imread('sample.jpg',cv2.IMREAD_GRAYSCALE)
h,w=img.shape[:2]
cx=3
cy=3
x1=230 #pixel
y1=240 #pixel

#describe the center point
#if you don't need, please comment out these two lines.
cv2.circle(img,center=(x1,y1),radius=10,color=255,thickness=-1)
cv2.imwrite('img_point.png',img)

#process of enlargement
x2=x1*cx #pixel
y2=y1*cy #pixel
size_after=(int(w*cx), int(h*cy))
resized_img=cv2.resize(img, dsize=size_after)
deltax=(w/2-x1)-(resized_img.shape[1]/2-x2)
deltay=(h/2-y1)-(resized_img.shape[0]/2-y2)

framey=int(h*cy*2)
framex=int(w*cx*2)
finalimg=np.zeros((framey,framex),np.uint8)
finalimg[int(-deltay+framey/2-resized_img.shape[0]/2):int(-deltay+framey/2+resized_img.shape[0]/2),
         int(-deltax+framex/2-resized_img.shape[1]/2):int(-deltax+framex/2+resized_img.shape[1]/2)]=resized_img
finalimg=finalimg[int(finalimg.shape[0]/2-h/2):int(finalimg.shape[0]/2+h/2),int(finalimg.shape[1]/2-w/2):int(finalimg.shape[1]/2+w/2)]

#output result image
cv2.imwrite('final_img.jpg',finalimg)
I expected this to be straightforward, but keeping the selected point fixed took a bit of work.
The program also draws a marker at the selected center.
If you don’t want the marker, remove lines 15 and 16.
Compare the results
I ran the code with several scale factors.
The original image is on the left and the scaled one is on the right.
Result with cx=0.7 and cy=0.7
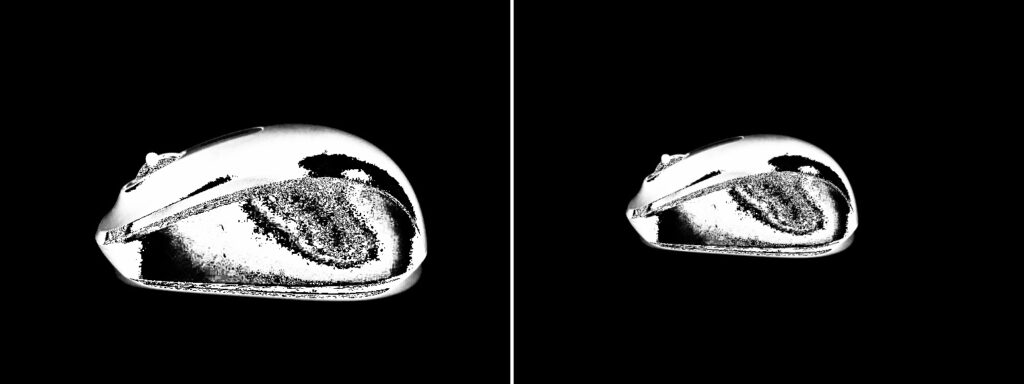
Result with cx=0.7 and cy=1.3
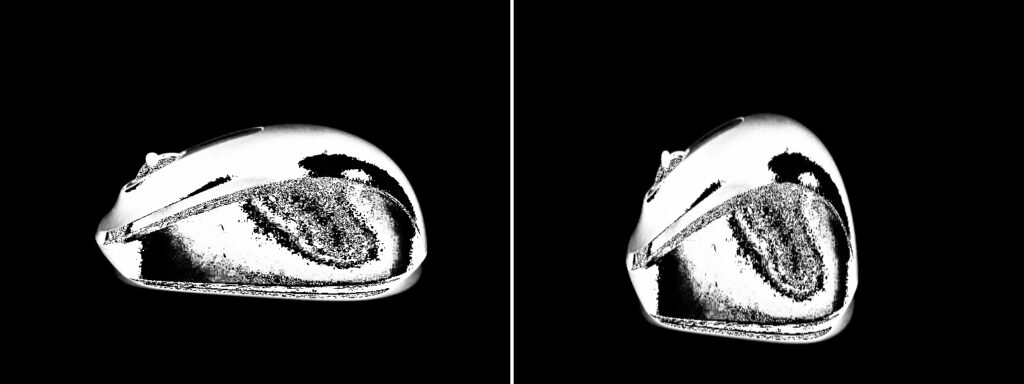
Result with cx=3.0 and cy=3.0
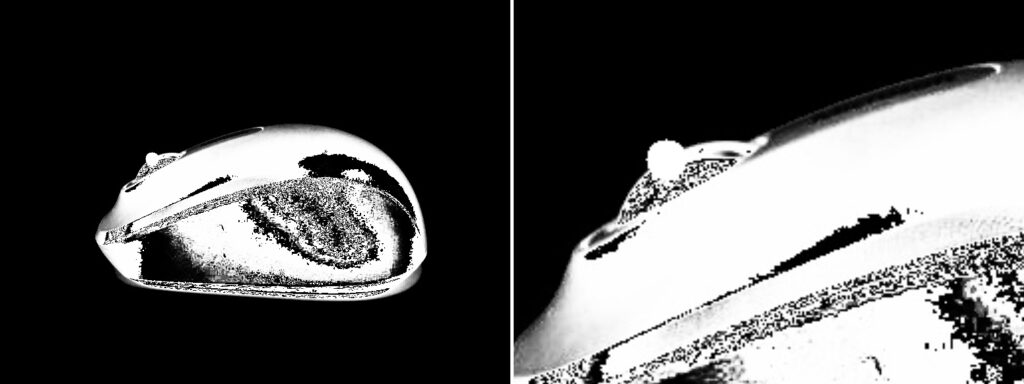
The marker stays in place in each example.
Thanks for reading!

コメント